Music production is an exciting and creative process that transforms ideas into polished tracks. Whether you dream of producing hit songs, composing for films, or creating beats, understanding the basics of music production is crucial. This comprehensive guide will walk you through the steps to get started, from setting up your studio to mastering your first track.
Understanding the Basics of Music Production
Before diving into the technical aspects, it’s important to grasp what music production entails. Music production is the process of creating, recording, mixing, and mastering music. A producer oversees the entire process, ensuring the final track sounds professional and meets artistic goals.
Key Elements of Music Production
- Composition: Creating the melody, harmony, and rhythm.
- Arrangement: Organizing the elements of the song to enhance its flow and impact.
- Sound Design: Crafting unique sounds using synthesizers, samplers, and effects.
- Mixing and Mastering: Balancing the track’s elements and optimizing it for playback on various devices.
Step 1: Setting Up Your Home Studio
A functional home studio is essential for any aspiring music producer. Here’s what you need:
1. Essential Equipment
Computer
- A powerful computer with sufficient RAM and storage is the heart of your studio.
- Popular choices: MacBook Pro, Dell XPS, or a custom-built PC.
Digital Audio Workstation (DAW)
- Your DAW is the software where you create and edit music.
- Recommended DAWs: Ableton Live, FL Studio, Logic Pro, and Pro Tools.
Audio Interface
- Connects your instruments and microphones to your computer.
- Recommended options: Focusrite Scarlett, Audient iD4.
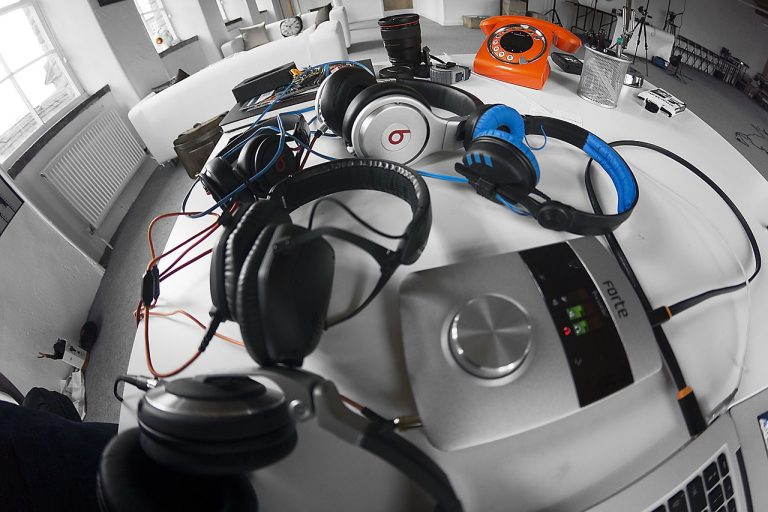
Studio Monitors and Headphones
- High-quality monitors and headphones are essential for accurate sound representation.
- Popular models: KRK Rokit monitors, Audio-Technica ATH-M50x headphones.
MIDI Keyboard
- Allows you to play and program melodies, chords, and beats.
- Suggested models: Akai MPK Mini, Novation Launchkey.
2. Acoustic Treatment
- Foam panels, bass traps, and diffusers improve sound quality by minimizing echo and unwanted reflections.
3. Additional Accessories
- Cables, pop filters, microphone stands, and external storage devices.
Step 2: Learning Your Digital Audio Workstation (DAW)
Mastering your DAW is essential for creating professional tracks. Here are some tips:
1. Explore Tutorials and Resources
- Most DAWs offer comprehensive tutorials.
- Platforms like YouTube and Skillshare provide valuable lessons for beginners.
2. Experiment with Features
- Familiarize yourself with the interface, tools, and shortcuts.
- Practice using features like MIDI programming, audio editing, and automation.
3. Build Templates
- Create templates for different genres to streamline your workflow.
Step 3: Composing Your First Track
Now that your studio is set up, it’s time to start creating. Begin with these steps:
1. Choose a Genre and Style
- Decide the type of music you want to produce.
- Study reference tracks to understand their structure and elements.
2. Create a Beat
- Use your DAW’s drum machine or loops to lay down a basic rhythm.
- Experiment with different drum patterns to find the right groove.
3. Develop a Melody
- Use your MIDI keyboard or piano roll to create a catchy melody.
- Experiment with different scales and modes for variation.
4. Add Harmonies and Basslines
- Build harmonies that complement your melody.
- Create a bassline to add depth and drive to your track.
Step 4: Arranging Your Track
Arrangement transforms your ideas into a cohesive song. Follow these tips:
1. Structure Your Song
- Common structures: Verse-Chorus-Verse, ABABCB (Intro, Verse, Chorus, Bridge, Outro).
2. Use Transitions
- Add risers, sweeps, and drops to make transitions smooth and engaging.
3. Layer Sounds
- Combine multiple sounds to add texture and richness.
Step 5: Mixing Your Music
Mixing ensures every element in your track is balanced and clear. Here’s how to approach it:
1. Set Levels
- Adjust volume levels for each track to create balance.
2. Use EQ (Equalization)
- Cut or boost specific frequencies to make instruments stand out.
3. Apply Compression
- Smooth out dynamics and add consistency to your track.
4. Add Effects
- Use reverb, delay, and modulation effects to enhance the sound.
5. Pan for Stereo Imaging
- Place sounds in the stereo field to create width and depth.
Step 6: Mastering Your Track
Mastering is the final step to prepare your track for release. Here’s what it involves:
1. Optimize Loudness
- Use limiters to achieve a competitive loudness level without distortion.
2. Enhance Tonal Balance
- Ensure the track sounds good on all playback systems.
3. Check for Consistency
- Compare your track to professional releases in the same genre.
Tips for Aspiring Music Producers
1. Practice Regularly
- Dedicate time daily or weekly to produce and experiment with new techniques.
2. Collaborate with Others
- Work with vocalists, instrumentalists, or other producers to broaden your experience.
3. Build a Portfolio
- Share your work on platforms like SoundCloud, Bandcamp, or YouTube.
4. Invest in Education
- Take courses on platforms like Udemy, Coursera, or Berklee Online.
5. Stay Inspired
- Listen to diverse genres and attend live performances to spark creativity.
Common Mistakes to Avoid
1. Overloading Tracks
- Avoid adding too many elements that clutter your mix.
2. Ignoring Room Acoustics
- Proper acoustic treatment is essential for accurate monitoring.
3. Skipping Gain Staging
- Maintain proper gain levels throughout the production process to prevent distortion.
4. Relying Solely on Presets
- Customize presets to create unique sounds and develop your signature style.
Conclusion
Becoming a music producer is a journey that requires patience, practice, and passion. By following these steps and continually honing your skills, you can bring your musical ideas to life and create tracks that resonate with audiences. Remember, every great producer started as a beginner—so keep experimenting, learning, and growing as you pursue your creative dreams.
